

オリジナルの画像からデータセットを作成する方法をご紹介します。
条件
- Python 3.7.0
- Windows 10 64bit
- opencv-python 4.1.0.25
オリジナル画像読み込み
画像の取得
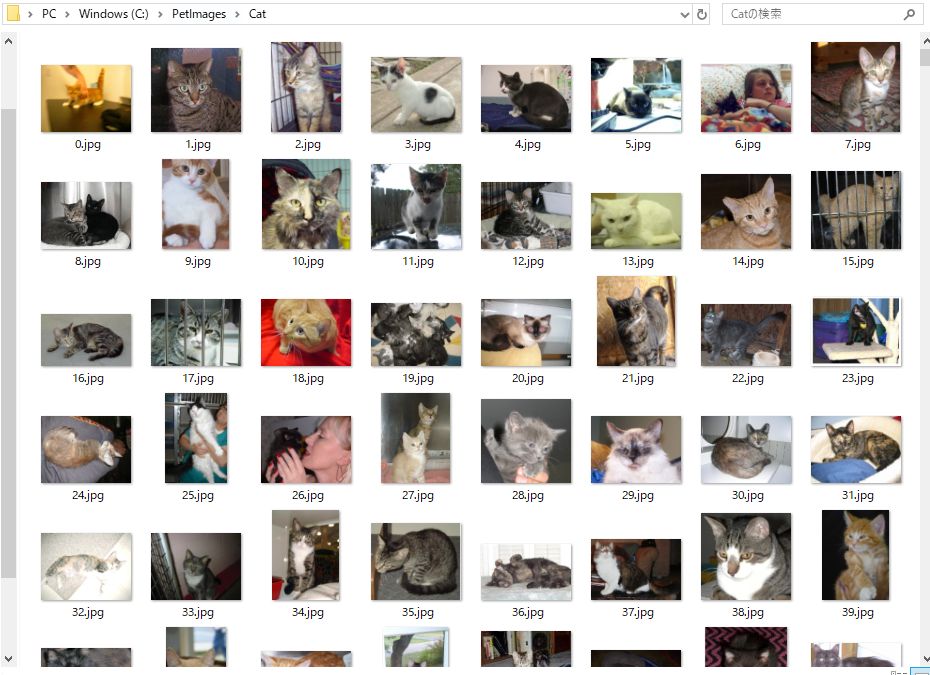
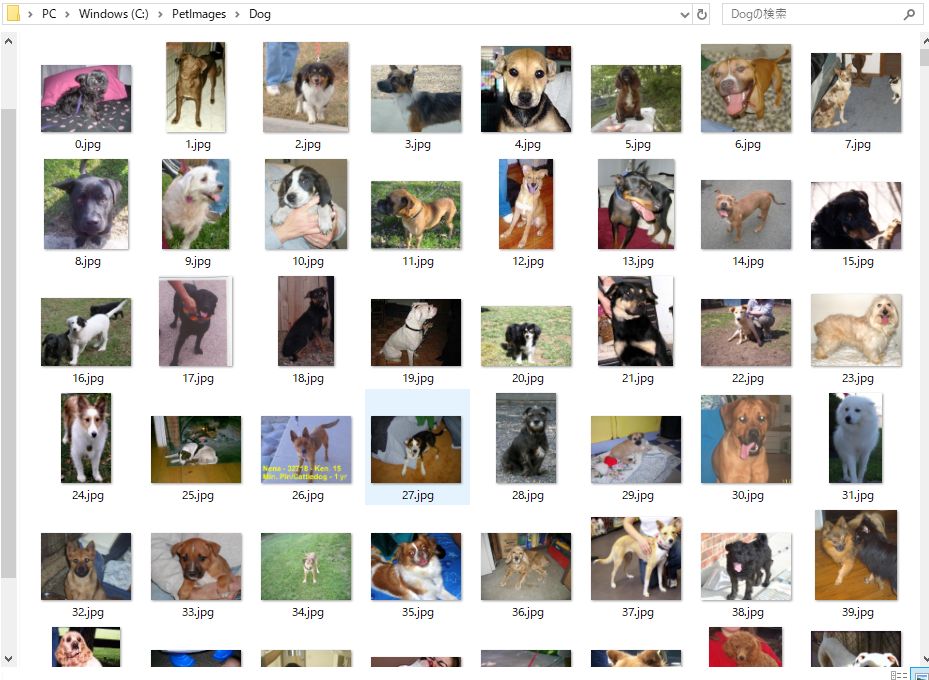
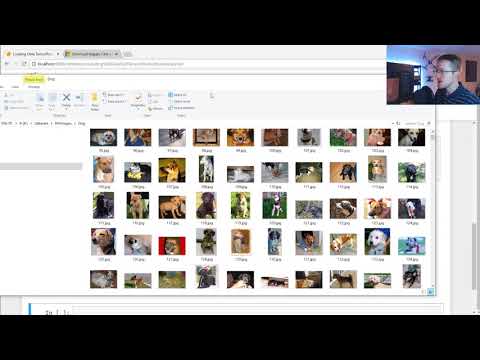
本記事では、Micrsoftが提供する犬と猫の画像データを使用します。
以下のサイトより、Kaggle Cats and Dogs Datasetをダウンロードします。
https://www.microsoft.com/en-us/download/details.aspx?id=54765
画像の配置
今回は、以下のような場所に配置しました。

「Cat」フォルダには沢山の猫画像、「Dog」フォルダには沢山の犬画像が入っています。
必要なライブラリをインストール
以下のコマンドで、「opencv-python」をインストールします。
pip install opencv-python
他にも、必要に応じてインストールを行ってください。
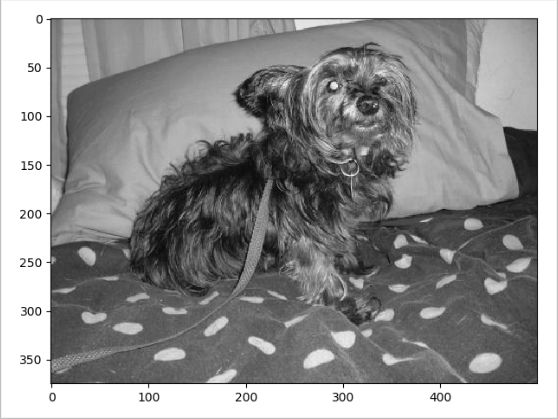
画像の読み込み
サンプルソース
グレースケールで読み込み、画像表示および配列情報を出力してみます。
import matplotlib.pyplot as plt
import os
import cv2


DATADIR = "C:/Datasets/PetImages"
CATEGORIES = ["Dog", "Cat"]

for category in CATEGORIES:
    path = os.path.join(DATADIR, category)

    for image_name in os.listdir(path):
        img_array = cv2.imread(os.path.join(path, image_name), cv2.IMREAD_GRAYSCALE)
        plt.imshow(img_array, cmap="gray")
        plt.show()
        break
    break

print(img_array.shape)
print(img_array)
実行結果
(375, 500)
[[117 117 119 ... 133 132 132]
 [118 117 119 ... 135 134 134]
 [119 118 120 ... 137 136 136]
 ...
 [ 79  74  73 ...  80  76  73]
 [ 78  72  69 ...  72  73  74]
 [ 74  71  70 ...  75  73  71]]
カラー画像表示
サンプルソース
カラーで読み込むようにしてみます。
import matplotlib.pyplot as plt
import os
import cv2


DATADIR = "C:/PetImages"
CATEGORIES = ["Dog", "Cat"]

for category in CATEGORIES:
    path = os.path.join(DATADIR, category)

    for image_name in os.listdir(path):
        img_array = cv2.imread(os.path.join(path, image_name), )
        plt.imshow(img_array, cmap='gray')
        plt.show()
        break
    break
実行結果
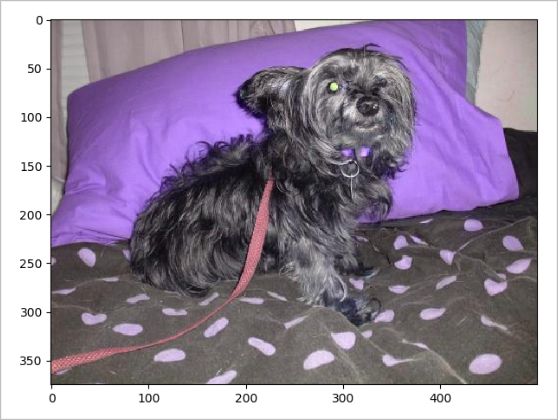
元の画像は以下になります。
配色が異なるようです。
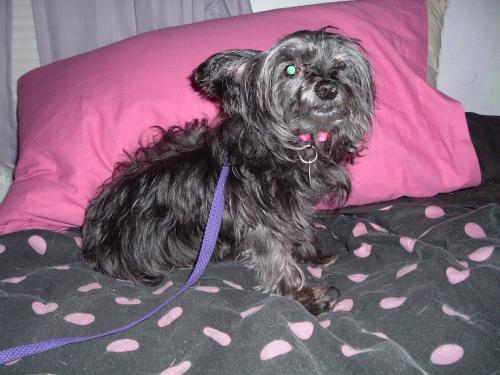
原因は、OpenCVでは「BGRモード」で読み込まれ、Matplotlibは画像をRGBモードで表示するからです。
以下のようにすれば、配色も元画像と同一になります。
import matplotlib.pyplot as plt
import os
import cv2


DATADIR = "C:/PetImages"
CATEGORIES = ["Dog", "Cat"]

for category in CATEGORIES:
    path = os.path.join(DATADIR, category)

    for image_name in os.listdir(path):
        img_array = cv2.imread(os.path.join(path, image_name), )
        img_array = cv2.cvtColor(img_array, cv2.COLOR_BGR2RGB)
        plt.imshow(img_array, cmap='gray')
        plt.show()
        break
    break
データセット作成
画像データとラベルが対になったデータセットの作成を行います。
サンプルソース
- 画像を50×50にリサイズして、画像データ(配列)を作成します。
- ラベル情報は、0:Dog、1:Cat としています。
import matplotlib.pyplot as plt
import os
import cv2
import random
import numpy as np
DATADIR = "C:/PetImages"
CATEGORIES = ["Dog", "Cat"]
IMG_SIZE = 50
training_data = []
def create_training_data():
for class_num, category in enumerate(CATEGORIES):
path = os.path.join(DATADIR, category)
for image_name in os.listdir(path):
try:
img_array = cv2.imread(os.path.join(path, image_name), cv2.IMREAD_GRAYSCALE) # 画像読み込み
img_resize_array = cv2.resize(img_array, (IMG_SIZE, IMG_SIZE)) # 画像のリサイズ
training_data.append([img_resize_array, class_num]) # 画像データ、ラベル情報を追加
except Exception as e:
pass
create_training_data()
random.shuffle(training_data) # データをシャッフル
X_train = [] # 画像データ
y_train = [] # ラベル情報
# データセット作成
for feature, label in training_data:
X_train.append(feature)
y_train.append(label)
# numpy配列に変換
X_train = np.array(X_train)
y_train = np.array(y_train)
# データセットの確認
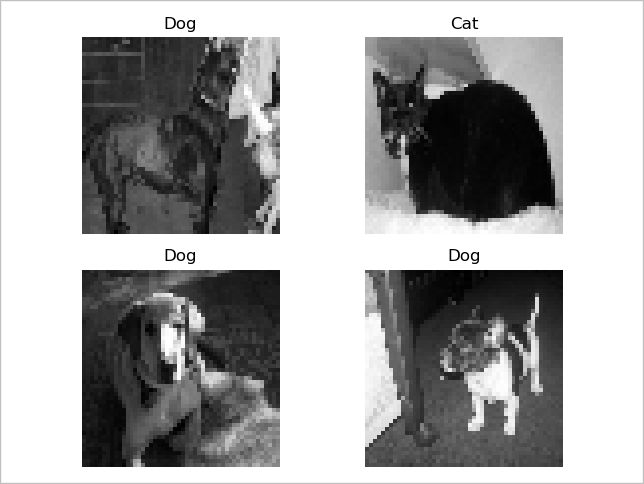
for i in range(0, 4):
print("学習データのラベル:", y_train[i])
plt.subplot(2, 2, i+1)
plt.axis('off')
plt.title(label = 'Dog' if y_train[i] == 0 else 'Cat')
plt.imshow(X_train[i], cmap='gray')
plt.show()
実行結果
以下のように、画像データとラベルが対になったデータセットが作成されていることがわかります。
学習データのラベル: 0
学習データのラベル: 1
学習データのラベル: 0
学習データのラベル: 0
データセット作成:カラー画像の場合
サンプルソース
- 画像をカラーのまま読み込みます。
- データセットの確認では、rgbに直して画像を表示します。
import matplotlib.pyplot as plt
import os
import cv2
import random
import numpy as np
DATADIR = "C:/PetImages"
CATEGORIES = ["Dog", "Cat"]
IMG_SIZE = 50
training_data = []
def create_training_data():
for class_num, category in enumerate(CATEGORIES):
path = os.path.join(DATADIR, category)
for image_name in os.listdir(path):
try:
img_array = cv2.imread(os.path.join(path, image_name),) # 画像読み込み
img_resize_array = cv2.resize(img_array, (IMG_SIZE, IMG_SIZE)) # 画像のリサイズ
training_data.append([img_resize_array, class_num]) # 画像データ、ラベル情報を追加
except Exception as e:
pass
create_training_data()
random.shuffle(training_data) # データをシャッフル
X_train = [] # 画像データ
y_train = [] # ラベル情報
# データセット作成
for feature, label in training_data:
X_train.append(feature)
y_train.append(label)
# numpy配列に変換
X_train = np.array(X_train)
y_train = np.array(y_train)
# データセットの確認
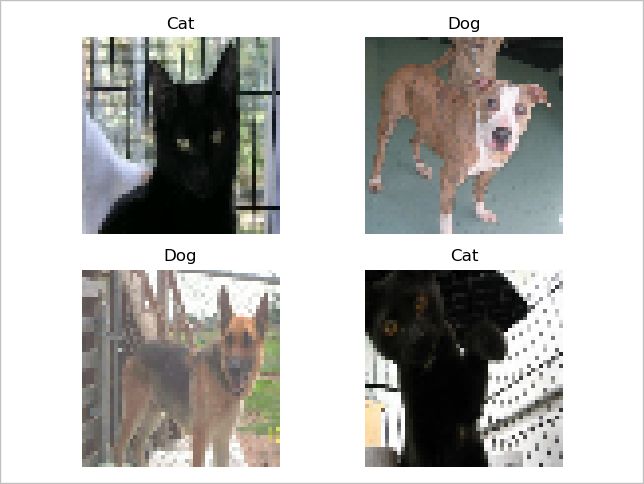
for i in range(0, 4):
print("学習データのラベル:", y_train[i])
plt.subplot(2, 2, i+1)
plt.axis('off')
plt.title(label = 'Dog' if y_train[i] == 0 else 'Cat')
img_array = cv2.cvtColor(X_train[i], cv2.COLOR_BGR2RGB)
plt.imshow(img_array)
plt.show()
実行結果
学習データのラベル: 1
学習データのラベル: 0
学習データのラベル: 0
学習データのラベル: 1
他の画像処理ライブラリ
本記事では、OpenCVを用いて画像処理を行いましたが、PIL(Pillow)でも同様の処理は可能です。
OpenCVとPILの画像読み込み処理については、以下の記事をご確認ください。
上記の記事でも言及していますが、OpenCVの方が処理速度が速いため、Deep Learningのような大量画像を扱う場合はOpenCVの使用をお勧めします。
参考
Kaggle Cats and Dogs Dataset
https://www.microsoft.com/en-us/download/details.aspx?id=54765
Loading in your own data – Deep Learning basics with Python, TensorFlow and Keras p.2
OpenCV-Python Tutorials
AI人工知能テクノロジー:KerasのCNNを使用してオリジナル画像で画像認識を行ってみる
stackoverflow:Convert opencv image format to PIL image format?
https://stackoverflow.com/questions/43232813/convert-opencv-image-format-to-pil-image-format