DjangoでPDF出力する方法
DjangoでPDF出力する方法をご紹介します。
以下で作成したモジュールに、PDF出力機能を追加します。
DjangoのクラスベースVeiwで2つのフォームを使用する方法
目次
条件
- Django 2.1.7
- Python 3.7.0
- reportlab 3.5.13
実装
urls.py
PDF出力のURLを追加します。
from django.urls import path
from . import views

app_name = 'works'

urlpatterns = [
    # トップ画面(一覧画面)
    path('', views.ListView.as_view(), name='index'),

    # 詳細画面
    path('works/<int:pk>/', views.DetailView.as_view(), name='detail'),

    # 登録画面
    path('create/', views.CreateView.as_view(), name='create'),

    # PDF出力
    path('pdf/', views.BasicPdf.as_view(), name='pdf'),
]
views.py抜粋
以下は、views.pyからPDF出力処理の箇所を抜粋しています。
PDF出力処理の詳細については、参考に載せているURLをご参照ください。
from reportlab.pdfgen import canvas
from reportlab.pdfbase.cidfonts import UnicodeCIDFont
from reportlab.pdfbase import pdfmetrics
from reportlab.lib.utils import ImageReader
from reportlab.lib.pagesizes import A4
from reportlab.lib.pagesizes import portrait
from reportlab.lib.units import mm
from reportlab.platypus import Table
from reportlab.platypus import TableStyle
from reportlab.lib import colors
from django.http import HttpResponse
class BasicPdf(generic.View):
filename = 'photo_work.pdf' # 出力ファイル名
title = 'title: Art Works'
font_name = 'HeiseiKakuGo-W5' # フォント
is_bottomup = True
def get(self, request, *args, **kwargs):
# PDF出力
response = HttpResponse(status=200, content_type='application/pdf')
# response['Content-Disposition'] = 'attachment; filename="{}"'.format(self.filename) # ダウンロードする場合
response['Content-Disposition'] = 'filename="{}"'.format(self.filename) # 画面に表示する場合
# A4縦書きのpdfを作る
size = portrait(A4)
# pdfを描く場所を作成:位置を決める原点は左上にする(bottomup)
# デフォルトの原点は左下
p = canvas.Canvas(response, pagesize=size, bottomup=self.is_bottomup)
pdfmetrics.registerFont(UnicodeCIDFont(self.font_name))
p.setFont(self.font_name, 16) # フォントを設定
# pdfのタイトルを設定
p.setTitle(self.title)
# 全ての作品情報を出力する。(検索結果は無関係)
id_array = list(Work.objects.all().values_list('pk', flat=True))
for work_count, work_id in enumerate(id_array):
logger.debug(work_count)
if Image.objects.filter(work_id=work_id).exists(): # 画像が紐づく場合
# 作品に紐づく画像パスを取得
image = Image.objects.values_list('image', flat=True).get(work_id=work_id)
else:
# No Imageパス
image = settings.MEDIA_URL + NO_IMAGE
# 作品情報
workInfo = Work.objects.filter(pk=work_id).first()
# 表の情報
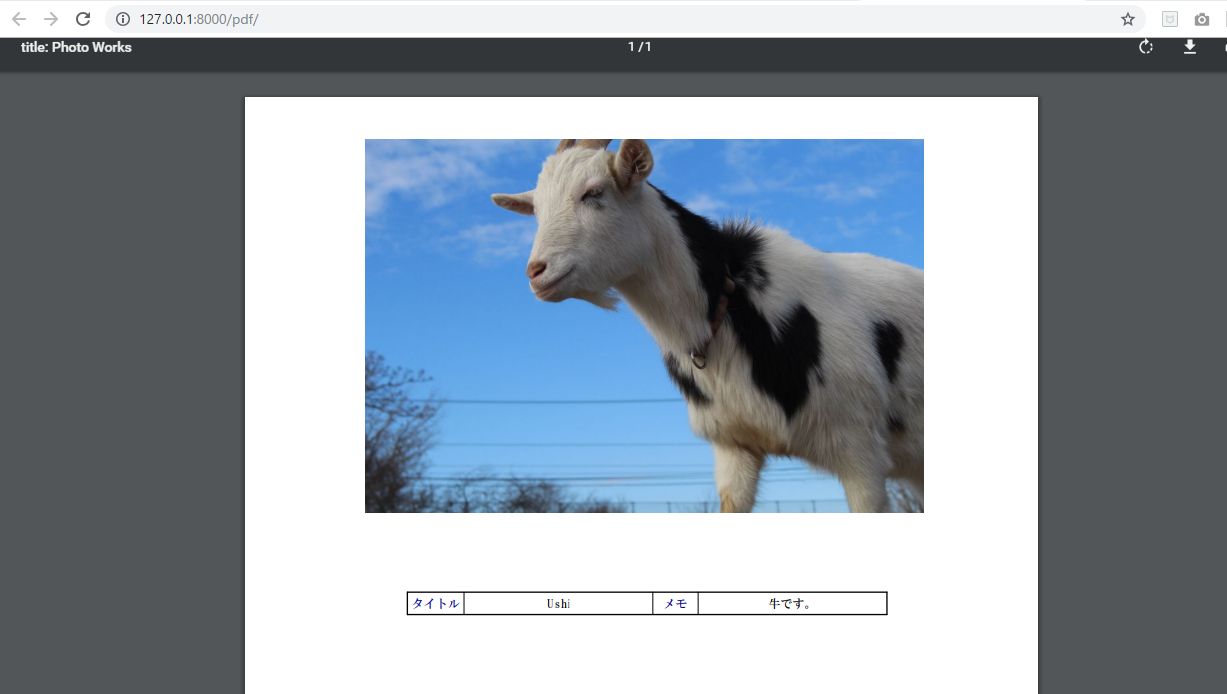
data = [
['タイトル', workInfo.title, 'メモ', workInfo.memo],
]
table = Table(data, (15 * mm, 50 * mm, 12 * mm, 50 * mm), None, hAlign='CENTER')
# TableStyleを使って、Tableの装飾をします。
table.setStyle(TableStyle([
# 表で使うフォントとそのサイズを設定
('FONT', (0, 0), (-1, -1), self.font_name, 9),
# 四角に罫線を引いて、0.5の太さで、色は黒
('BOX', (0, 0), (-1, -1), 1, colors.black),
# 四角の内側に格子状の罫線を引いて、0.25の太さで、色は黒
('INNERGRID', (0, 0), (-1, -1), 0.25, colors.black),
# セルの縦文字位置
('VALIGN', (0, 0), (-1, -1), 'MIDDLE'),
("ALIGN", (0, 0), (-1, -1), "CENTER"),
('TEXTCOLOR', (0, 0), (0, 0), colors.darkblue),
('TEXTCOLOR', (2, 0), (2, 0), colors.darkblue),
]))
if work_count % 2 == 0: # 偶数の場合
# 画像の描画
p.drawImage(ImageReader(image[1:]), 10, 530, width=580, height=280, mask='auto',
preserveAspectRatio=True)
# tableを描き出す位置を指定
table.wrapOn(p, 50 * mm, 50 * mm)
table.drawOn(p, 43 * mm, 160 * mm)
else: # 奇数の場合
# 画像の描画
p.drawImage(ImageReader(image[1:]), 10, 130, width=580, height=280, mask='auto',
preserveAspectRatio=True)
# tableを描き出す位置を指定
table.wrapOn(p, 50 * mm, 50 * mm)
table.drawOn(p, 43 * mm, 19 * mm)
p.showPage() # Canvasに書き込み(改ページ)
if len(id_array) % 2 != 0: # 出力作品数が奇数の場合
p.showPage() # Canvasに書き込み
p.save() # ファイル保存
self._draw(p)
return response
def _draw(self, p):
pass
template
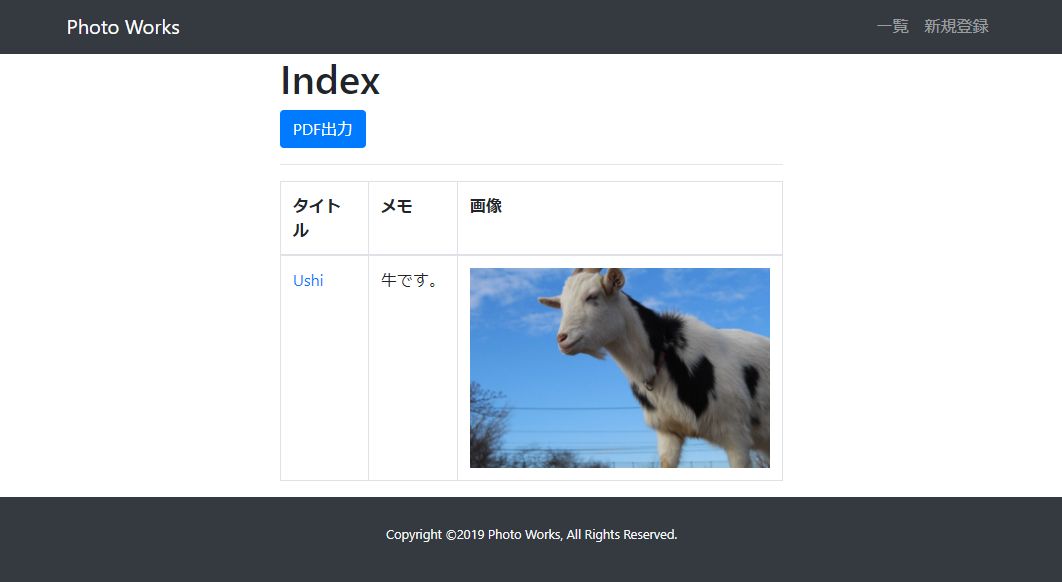
index.html
一覧画面にPDF出力ボタンを追加します。
{% extends 'base.html' %}

{% block content %}
<div class="col-lg-6 offset-lg-3">

    <h1>Index</h1>

    {% if object_list|length > 0 %}
        <a class="btn btn-primary w-150px" href="{% url 'works:pdf' %}" role="button" target=”_blank”>PDF出力</a>
        <hr>
    {% endif %}

    <section class="post-list">
        {% if object_list|length == 0 %}
            <p>作品が存在しません。</p>
        {% else %}
            <div id="checkbox-container">
            <table class="table table-hover table-bordered">
                <tr>
                    <th>タイトル</th>
                    <th>メモ</th>
                    <th>画像</th>
                </tr>
                <tbody>
                    {% for work in object_list %}
                        <tr>
                            <td width="35%"><a href="{% url 'works:detail' work.pk %}">{{ work.title }}</a></td>
                            <td width="35%">{{ work.memo }}</td>
                            {% if work.image_set.count > 0 %}
                                <td width="30%">
                                    <img src="{{ work.image_set.first.image }}" alt={{ work.title }} width="300" height="200" border="0" />
                                </td>
                            {% else %}
                                <td width="30%">-</td>
                            {% endif %}
                        </tr>
                    {% endfor %}
                </tbody>
            </table>
            </div>
        {% endif %}
    </section>
</div>

{% endblock %}
実行結果
PDF出力ボタンを押します。
ブラウザの別タブにPDFが出力されます。
サンプルソース
GitHubに当該記事のサンプルソースを公開しています。
https://github.com/kzmrt/photo
参考
ReportLab公式
https://www.reportlab.com/documentation/