XamarinのListViewでItemが選択された時に詳細画面に移動する方法
XamarinのListViewでItemが選択された時に詳細画面に移動する方法をご紹介します。
目次
条件
- Xamarin.Forms
- Visual Studio 2019
前提
モデル
以下のようなLocationモデルが定義されているものとします。
public class Location
{
    [PrimaryKey, AutoIncrement]
    public int Id { get; set; }
    [MaxLength(128)]
    public string Title { get; set; }
    [MaxLength(256)]
    public string Memo { get; set; }
    [MaxLength(32)]
    public string Position { get; set; }
    [MaxLength(32)]
    public string Date { get; set; }
}
詳細画面
Location情報を表示する、詳細画面があるものとします。
DetailPage.xaml
<?xml version="1.0" encoding="utf-8" ?>
<ContentPage xmlns="http://xamarin.com/schemas/2014/forms"
             xmlns:x="http://schemas.microsoft.com/winfx/2009/xaml"
             xmlns:d="http://xamarin.com/schemas/2014/forms/design"
             xmlns:mc="http://schemas.openxmlformats.org/markup-compatibility/2006"
             mc:Ignorable="d"
             x:Class="MapDiary.Pages.DetailPage">
    <ContentPage.Content>
        <StackLayout>
            <Label x:Name="titleLabel" Text="タイトル"
                HorizontalOptions="CenterAndExpand" />
            <Label x:Name="dateLabel" Text="日時"
                HorizontalOptions="CenterAndExpand" />
            <Label x:Name="memoLabel" Text="メモ"
                HorizontalOptions="CenterAndExpand" />
            <Label x:Name="locationLabel" Text="場所情報"
                HorizontalOptions="CenterAndExpand" />
        </StackLayout>
    </ContentPage.Content>
</ContentPage>
DetailPage.xaml.cs
using Xamarin.Forms;
using Xamarin.Forms.Xaml;

namespace MapDiary.Pages
{
    [XamlCompilation(XamlCompilationOptions.Compile)]
    public partial class DetailPage : ContentPage
    {
        private int id;

        public DetailPage(int id)
        {
            InitializeComponent();
            this.Title = "詳細画面";

            this.id = id;
            var location = App.LocationRepo.GetLoationRecord(this.id); // 対象IDのレコードを取得

            titleLabel.Text = location.Title; // タイトル
            dateLabel.Text = location.Date; // 日時
            memoLabel.Text = location.Memo; // メモ
            locationLabel.Text = location.Position; // 場所情報
        }
    }
}
ListViewでItemが選択された時の処理
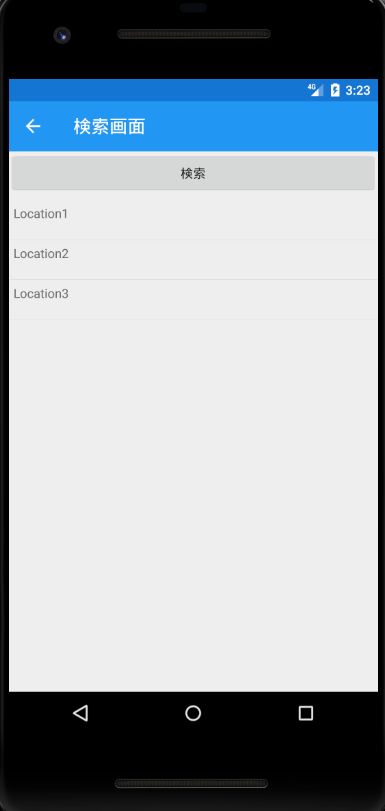
検索画面
検索ボタンを押して、Location情報一覧を表示させる画面を作ります。
一覧表示されたリストが選択された際、詳細画面へ移動するためのポイントは以下の通りです。
- <ListView>に「ItemSelected=”OnItemSelected”」を追加する。
- リストが選択された際のメソッド「async void OnItemSelected(object sender, SelectedItemChangedEventArgs e)」を実装する。
- 選択されたアイテムのLocation情報を取得
- Location情報のIDを引数に渡して詳細画面へ遷移
SearchPage.xaml
<?xml version="1.0" encoding="utf-8" ?>
<ContentPage xmlns="http://xamarin.com/schemas/2014/forms"
             xmlns:x="http://schemas.microsoft.com/winfx/2009/xaml"
             xmlns:d="http://xamarin.com/schemas/2014/forms/design"
             xmlns:mc="http://schemas.openxmlformats.org/markup-compatibility/2006"
             mc:Ignorable="d"
             x:Class="MapDiary.Pages.SearchPage">
    <ContentPage.Content>
        <StackLayout>
            <Button x:Name="searchButton" Text="検索" Clicked="OnSearchClicked" />

            <ListView x:Name="locationList" ItemSelected="OnItemSelected"
              Grid.Row="4">
                <ListView.ItemTemplate>
                    <DataTemplate>
                        <ViewCell Height="30">
                            <StackLayout Padding="5">
                                <Label Text="{Binding Title}" />
                            </StackLayout>
                        </ViewCell>
                    </DataTemplate>
                </ListView.ItemTemplate>
            </ListView>
        </StackLayout>
    </ContentPage.Content>
</ContentPage>
SearchPage.xaml.cs
using MapDiary.Models;
using System.Collections.Generic;
using Xamarin.Forms;
using Xamarin.Forms.Xaml;

namespace MapDiary.Pages
{
    [XamlCompilation(XamlCompilationOptions.Compile)]
    public partial class SearchPage : ContentPage
    {
        public SearchPage()
        {
            InitializeComponent();
            this.Title = "検索画面";
        }

        /**
         * 検索ボタンが押された時の処理
         * */
        private void OnSearchClicked(object sender, System.EventArgs e)
        {
            List<Location> loaction = App.LocationRepo.GetAllLocation();
            locationList.ItemsSource = loaction;
        }

        /**
         * リストが選択された時の処理
         * */
        async void OnItemSelected(object sender, SelectedItemChangedEventArgs e)
        {
            ListView listView = (ListView)sender;

            // リストビューで選択されたアイテムを取得する。
            Location location = (Location)listView.SelectedItem;

            // 詳細画面に遷移する。
            await Navigation.PushAsync(new DetailPage(location.Id));
        }
    }
}
実行結果
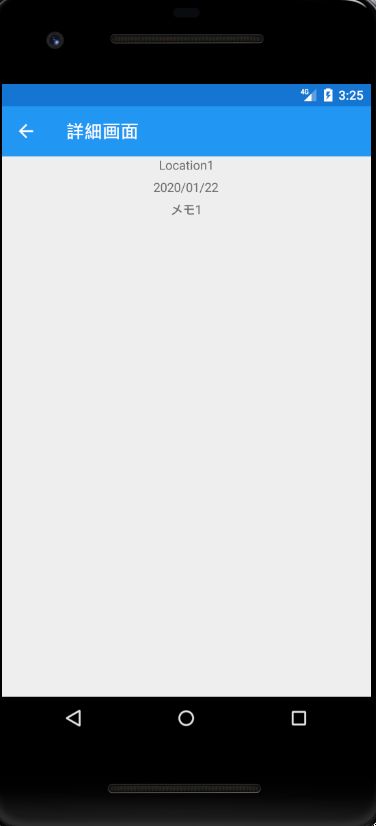
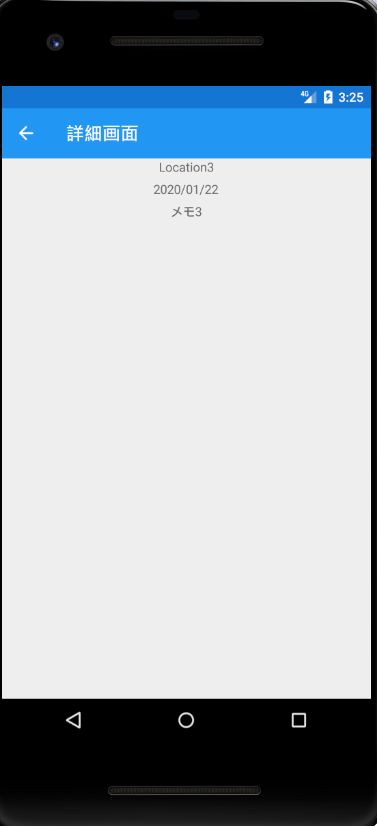
リストの一覧で選択したLocationの詳細が表示されます。
検索画面のLocation一覧
Location1を選択した場合
Location3を選択した場合
参考
stackoverflow:Xamarin.forms ListView click to next page
https://stackoverflow.com/questions/38341893/xamarin-forms-listview-click-to-next-page